 |
Wolfgang Dudlera new car for the narrow gauge roster |
 |
At the FREMO meeting in Unna I've got another LaBelle kit: HOn3-129 D&RGW Caboose.
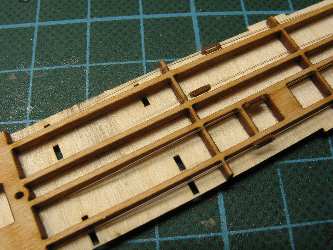
I've glued the two floor pieces to the underframe following the instruction. 0,4mm holes are drilled for the Nylon Truss Rods. I've glued the start with CA to the floor. When it was hard I installed the total Nylon with turnbuckles. I've glued the ends too.
But at first I should have test the trucks. Look here!
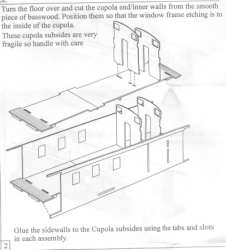
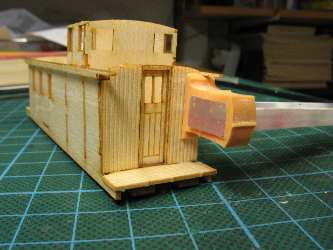
Some time later I glued the cupola subsides. But here I run into a problem. You can install them only in one way, in the correct way. But the sidewalls have now wrong - permuted - slots. Well, I will have to make one slot longer.
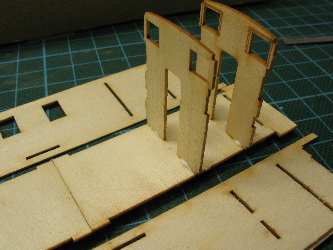
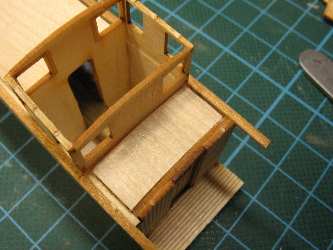
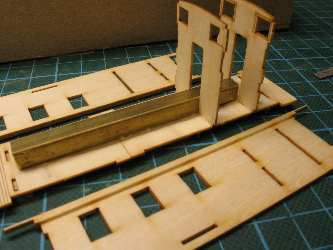
I've glued a square tube at the floor to reinforce the body. Then I glued the sidewalls and endwalls.
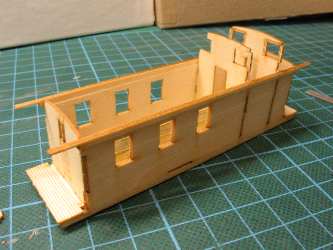
But with the endwalls I run into a problem. They protude a little bit. So I removed them again, used a knife to cut the tabs at the bottom and glued them again. Now I could start with the scribed walls. Following the instructions I've glued the scribed end walls and door frames.
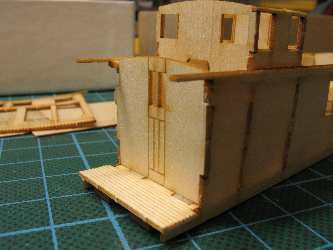
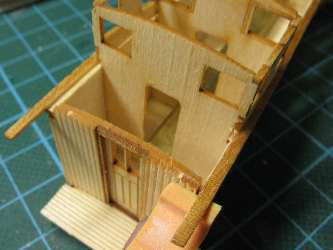
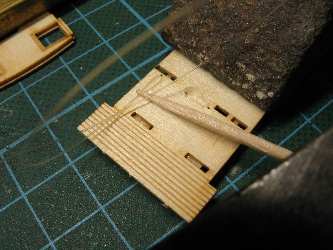
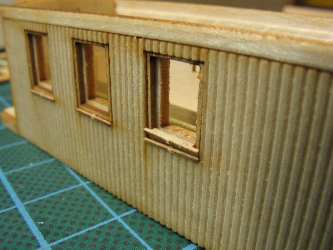
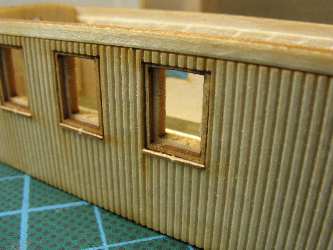
I've cut the two pieces for the scribed side walls and made a good transition. Then I've glued them to the body and inserted the window frames. I've used the laser cut frames.
I've used the laser cut window parts to make the masks for the window glazings at this time already.
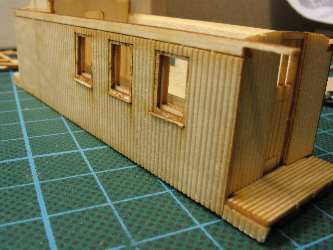
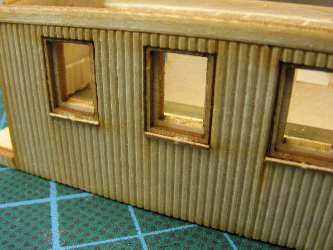
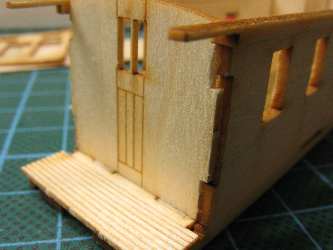
But I didn't use the window sills like in the instruction. There were other tiny parts I've used. You see in the left picture this window sill. I think it looks not correct, too high. The right pictures shows my way.
The instruction remembers: you need some weight. Well, I've used roofers lead. I've weighed the car together with the parts and came up to 65g ( 2 1/4 ounces ).
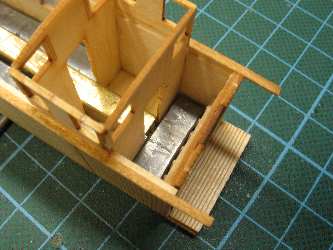
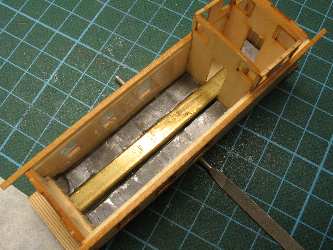
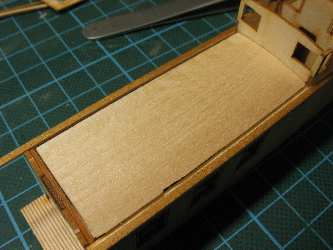
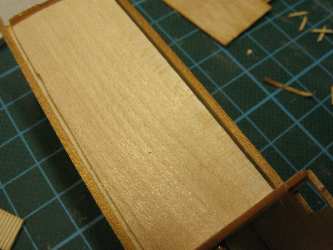
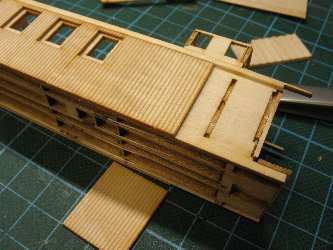
Now I've test fitted the roof former. There're some gaps to the side I have to fill. And I found no roof overlay in the kit. Perhaps it went lost. So I will use some heavy paper.