 |
Wolfgang Dudlera new module for FREMO meetings |
 |
Now I've started to scratch build my code 40 turnouts. I've soldered hundreds of turnouts, and before I spiked them. Now I've a new challenge:
code 40 ! That's a good size for narrow gauge.
Building a code 40 turnout is very similar to a code 70 or code 55 turnout. There's only a difference - the rails are really tiny! You have to look twice!
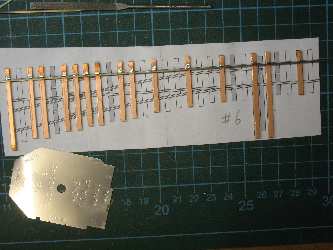
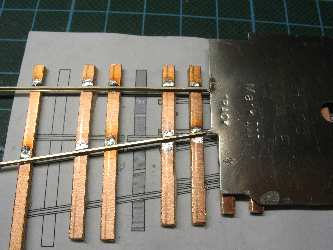
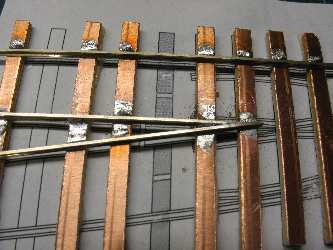
I started with the ties. Those were glued with a tiny spot glue to the paper template. Then I soldered the straight rail to the ties, when I've sanded off the base of the rail at the place where the points will be. I made the frog from two rails I've also sanded to the frog angle. For this step it's important to use the NMRA gauge.
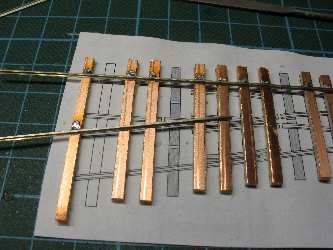
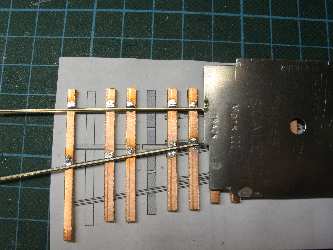
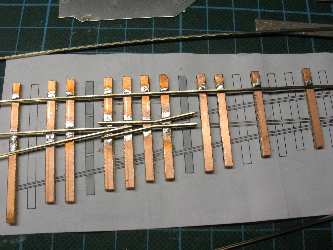
With the finished frog I solder the wing rails. Closure rail
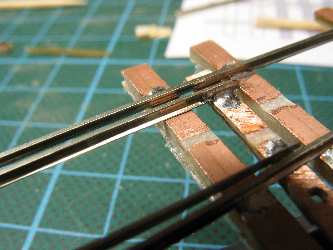
and points are ONE piece of rail. Where the hinges should be I've cut the
base of the rail and made a fine cut with a saw into the rail head. This looks
and works like a hinge but isn't! ![]()
Next step is the curved stock rail and the other closure / point rail. Now I added the guard rails and ready for testing. The throw bar is also a piece of PC board.
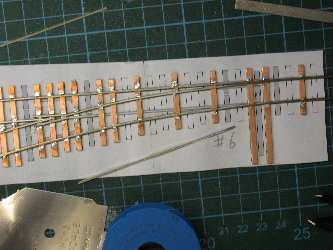
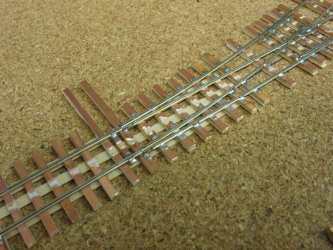
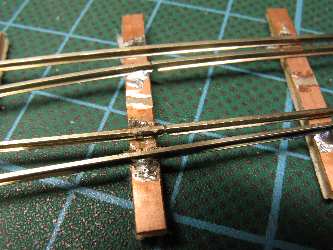
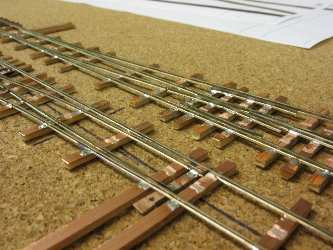
And the finished turnout:
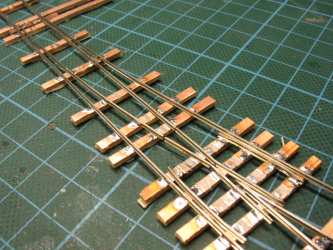
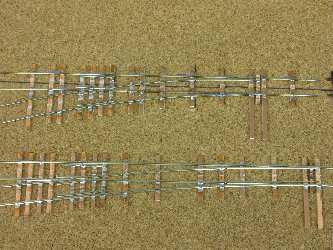
Here's a comparison between a code 55 #8 turnout and this code
40 #6 turnout.
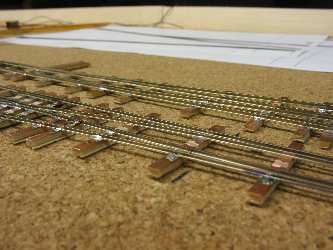
... and the stub switch to the lumber yard: